
Install Merca VPS
Unzip the portable Windows browser and start chrovia.exe. No sign-up.
Merca VPS is a portable Windows browser for stores you run on a VPS. It is not the Merca desktop app. There is no installer, no account, and no in-app update.
Requirements
- Windows Server 2016 or later, 64-bit (Windows 10/11 64-bit also runs)
- Enough disk space to keep the whole extracted folder
Download
- Open Downloads.
- Under Merca VPS, choose Windows.
- Save the portable
.zip.
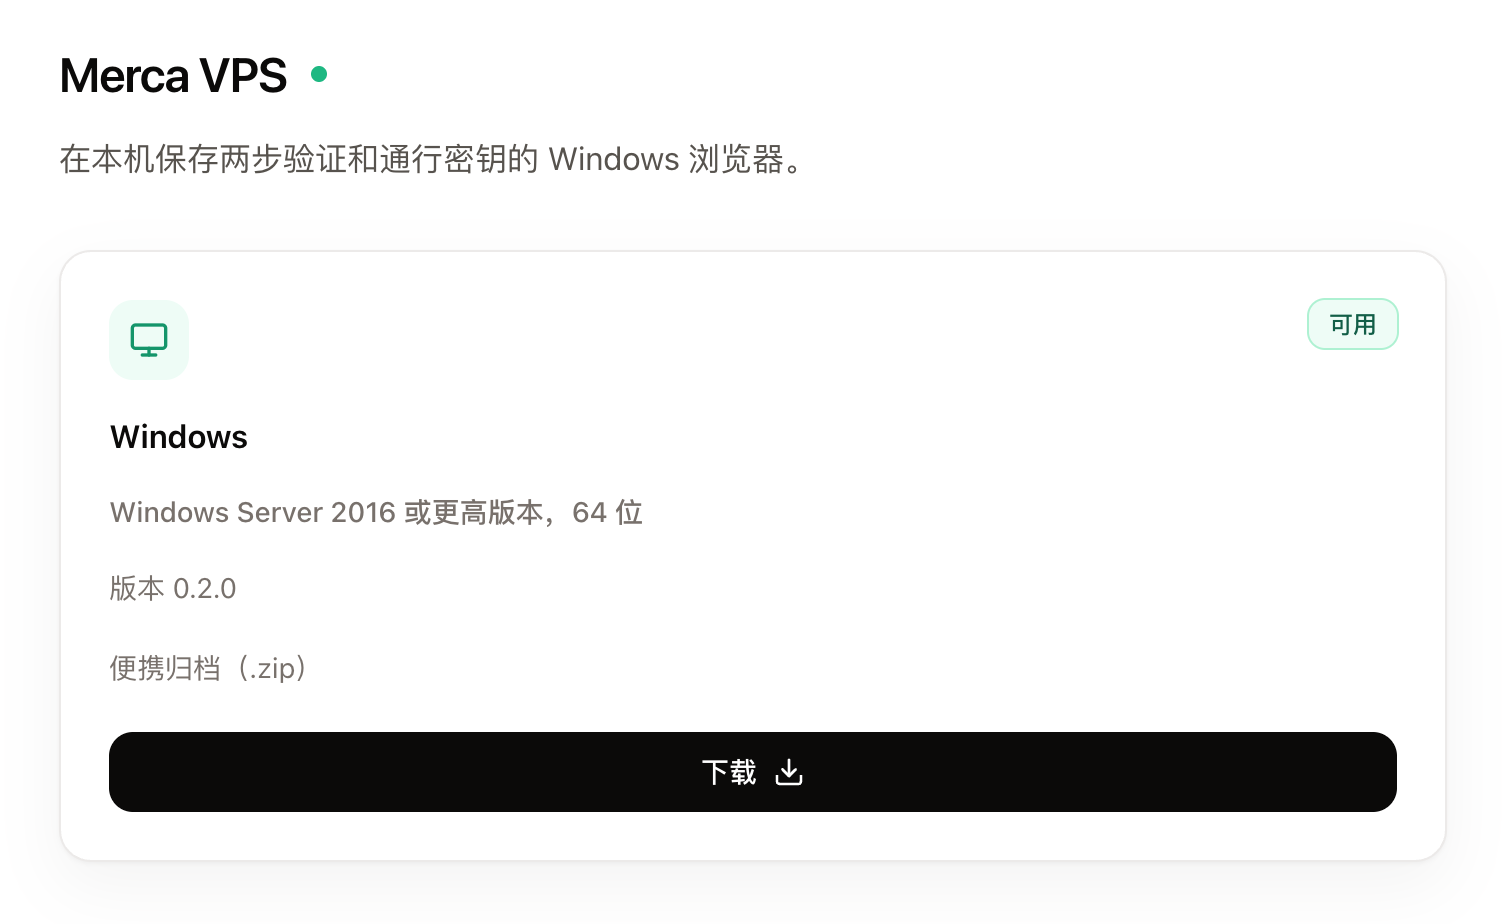
Copy the zip onto the VPS if you downloaded it elsewhere.
Unzip
Do not double-click files inside the zip. Extract the archive first.
- Right-click the
.zip→ Extract All… (or extract with 7-Zip). - Choose a folder you will keep, for example
C:\merca-vps. - Finish extraction. You should have a
merca-vpsfolder.
Keep that folder together. Moving only one file out of it will break the browser.
If Windows marks the zip as coming from another computer, right-click the .zip → Properties → tick Unblock if it is there → OK, then extract again.
Start the browser
Open the extracted merca-vps folder and double-click `chrovia.exe`. That is the browser. There is no separate Merca setup wizard.
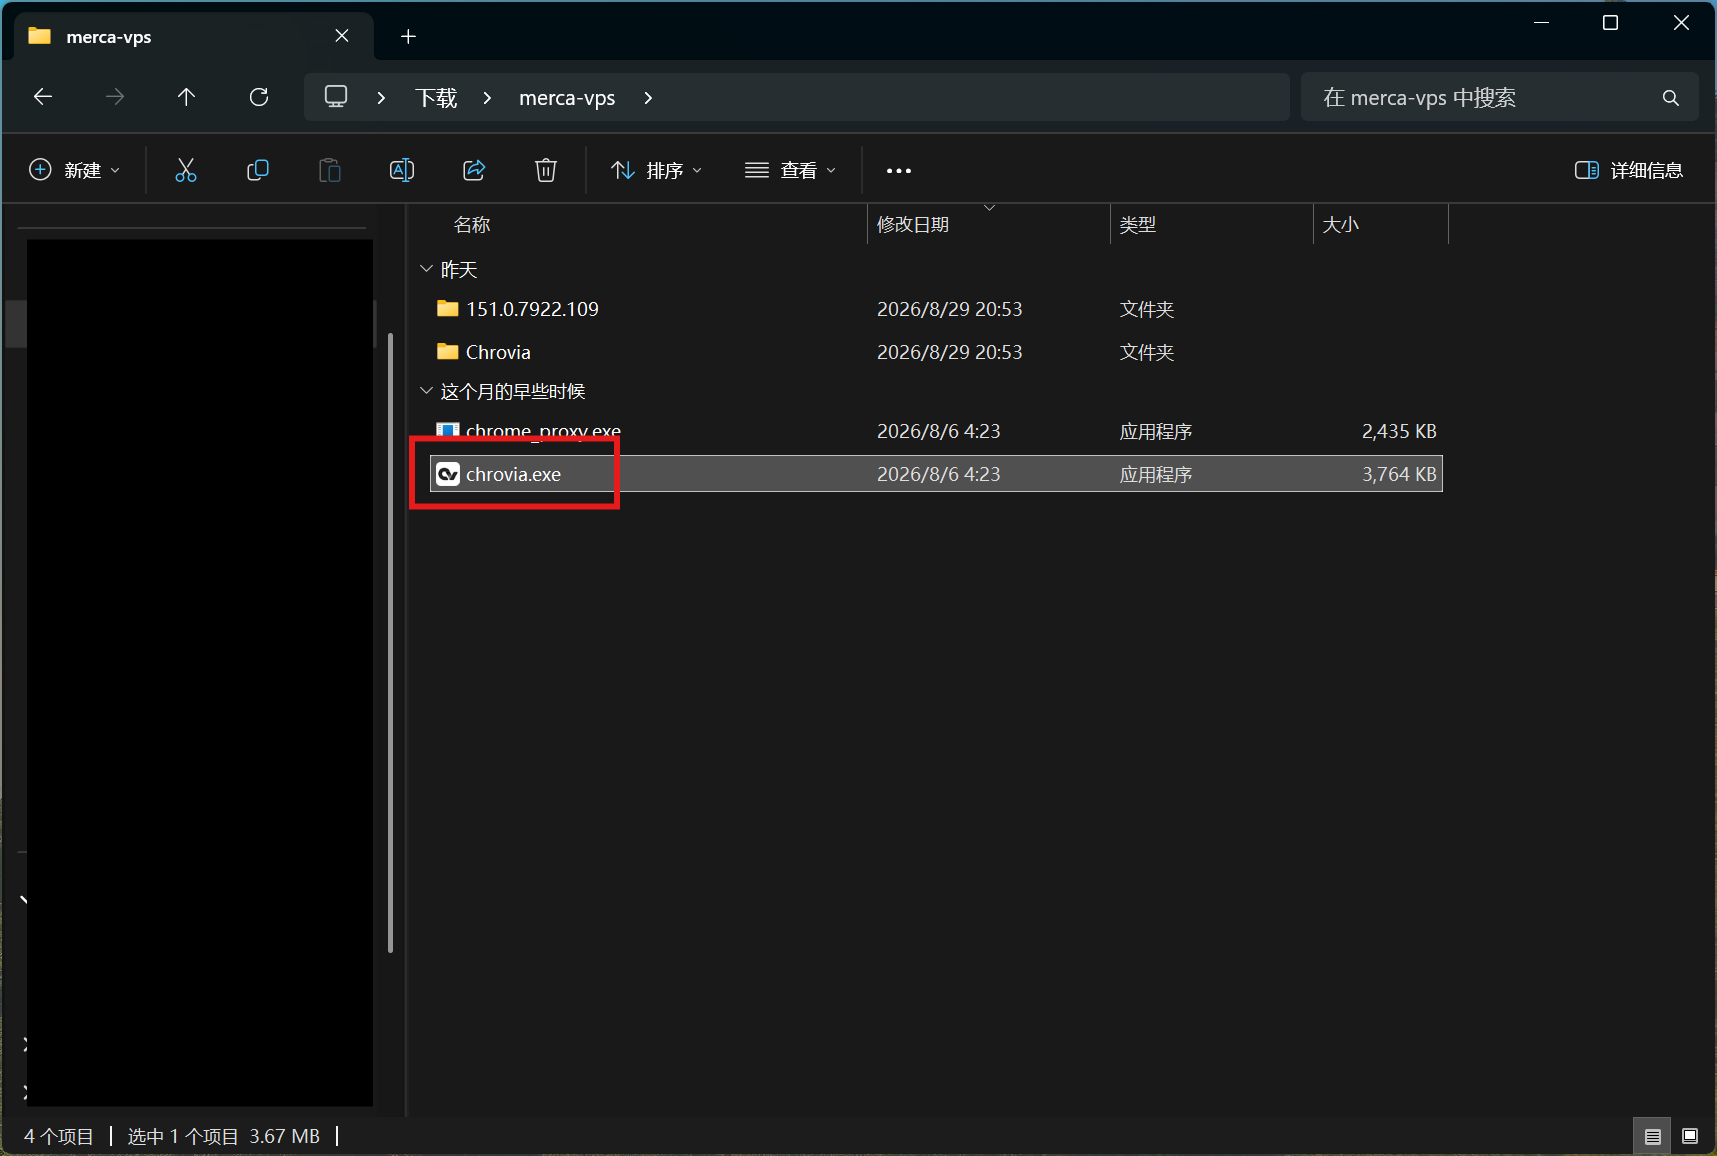
If SmartScreen shows Windows protected your PC:
- Choose More info.
- Choose Run anyway.
You do not create a Merca account. After it opens, use the toolbar for local 2FA and Passkeys.
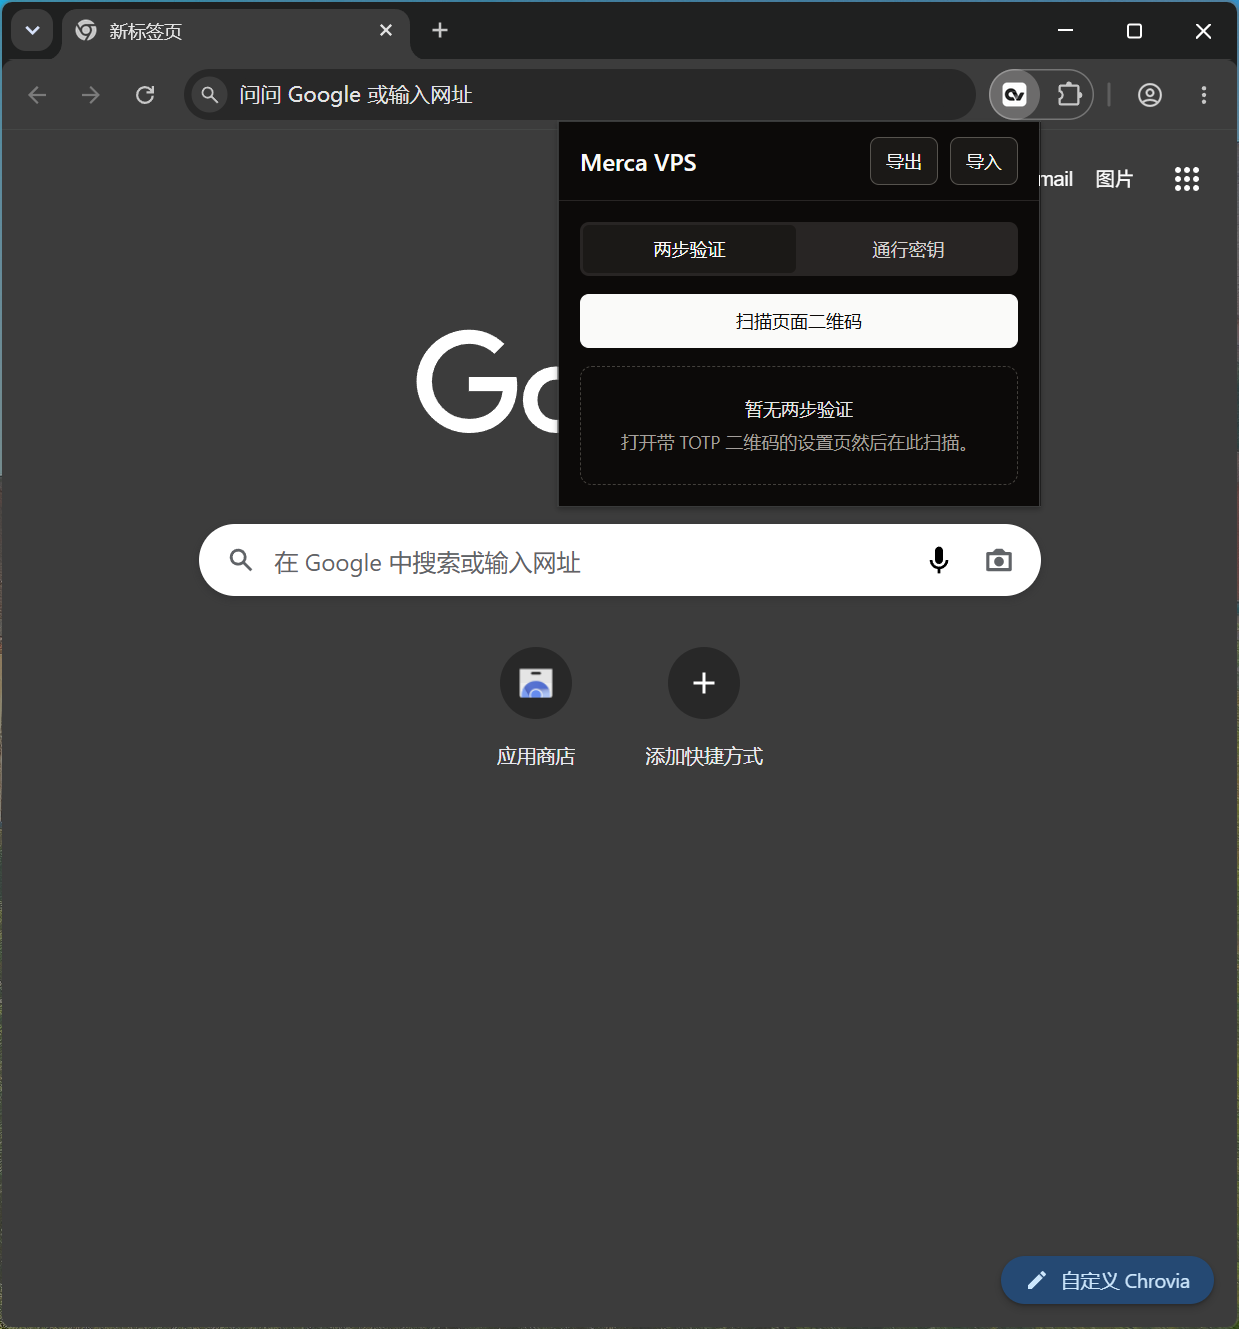
Next time
Start `chrovia.exe` from the same extracted folder. Pin that shortcut if you want. Do not delete the merca-vps folder while you still need the browser.
To register an Amazon Passkey, see Set up an Amazon Passkey with Merca VPS. For two-step verification, see Set up Amazon two-step verification with Merca VPS.